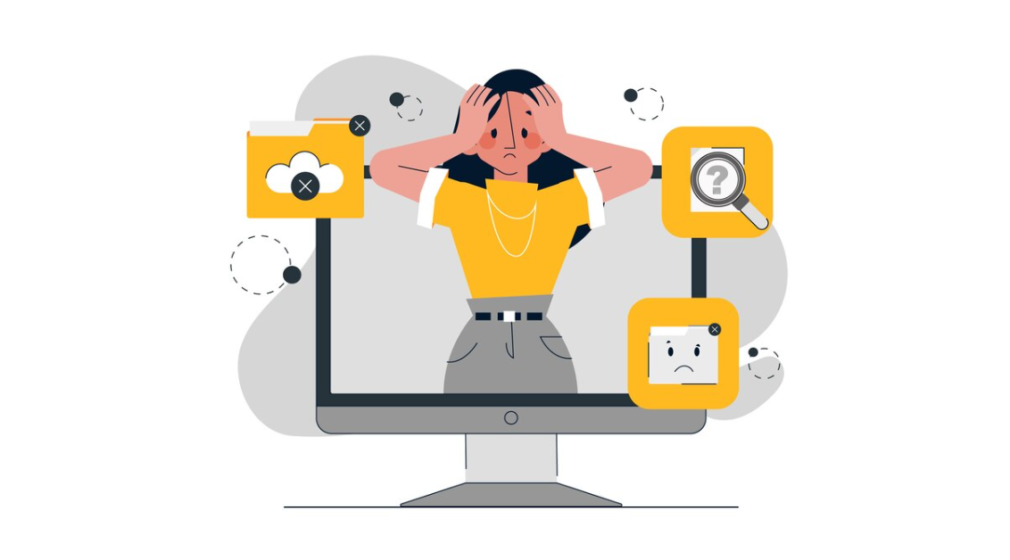
Have you encountered a significant issue when handling your WordPress website? Occasionally, WordPress may display an error message that reads, ‘A critical error has occurred on this website. Please review your site admin email for support.’ Typically, this message includes a hyperlink directing you to the WordPress debugging guide.
In this comprehensive guide, we will lead you through the complex task of addressing critical errors in the WordPress platform. Additionally, we will delve into the root causes that frequently lead to these errors and provide valuable suggestions for proactive steps you can take to reduce the likelihood of encountering them in the future.
Understanding the Significance of Critical Errors in WordPress
A critical error within the WordPress platform signifies a significant disruption that impedes the loading of essential scripts necessary for its proper functioning.
Historically, encountering such a WordPress error often led to the infamous “white screen of death” or the appearance of perplexing fatal error messages on the user’s screen. This bewildering situation posed substantial challenges, especially for newcomers attempting to independently diagnose and resolve the issue.
However, with the advent of WordPress 5.2 and subsequent updates, a more user-friendly error message has replaced the cryptic ones: “There has been a critical error on this website.”
Furthermore, WordPress has taken proactive measures to inform site administrators about critical errors by triggering email notifications sent to the designated admin email address. These notifications contain vital information concerning the plugin or theme responsible for the error and provide a link for accessing the WordPress dashboard in recovery mode.
Nonetheless, in certain instances, users may encounter a variation of this error that only alerts them to a critical error without guiding them to check their email. This situation arises when WordPress fails to load the necessary files required to activate recovery mode or send the email notification.
Comprehending the intricacies of these critical errors in WordPress is essential for effectively addressing them and ensuring the seamless operation of your website. It not only impacts the user experience but also highlights the importance of staying informed and proactive in managing your WordPress platform.
Understanding the Triggers of Critical Errors in WordPress
A critical error within the WordPress ecosystem frequently originates from a malfunctioning plugin, script, or piece of code that disrupts the seamless operation of the WordPress platform.
This disruptive code essentially acts as an impediment, obstructing WordPress from successfully loading the indispensable files it needs to function correctly.
It’s essential to recognize that if you’ve recently incorporated code snippets from a tutorial into your website, these very snippets could serve as the catalyst for triggering a critical error.
It’s worth noting that most reputable WordPress plugins undergo rigorous testing protocols to minimize the likelihood of causing critical errors. Nevertheless, conflicts with other WordPress plugins or custom code can still serve as potential triggers for this specific type of error.
In the upcoming sections, we will dive deep into the crucial steps required to effectively address and resolve a critical error within WordPress, ultimately ensuring the complete restoration of your website’s functionality. This comprehensive exploration will equip you with the knowledge and tools needed to confront critical errors with confidence and competence, safeguarding your WordPress website’s smooth operation.
Resolving the Critical Error in WordPress
The critical error message within WordPress, although a helpful indicator of an issue, often lacks the specificity required to pinpoint the exact cause of the problem. Nevertheless, WordPress takes an extra step to improve the error resolution process by sending an email to the admin email address linked to your website.
However, it’s essential to recognize that many WordPress websites are not configured to send emails via SMTP (Simple Mail Transfer Protocol). This configuration limitation can result in users not receiving the email notification, even when WordPress indicates that it has been dispatched.
Similarly, some WordPress sites may only display the critical error message without offering guidance to check their email for additional information. This situation typically arises when WordPress encounters difficulties loading the essential files necessary to send an email or activate recovery mode.
If you find yourself in either of these situations, there’s no need to be concerned. In the upcoming sections, we will provide you with comprehensive guidance on two effective methods to resolve the critical error in WordPress, even in the absence of email notifications. These methods will empower you to address and overcome the issue, ensuring the seamless operation of your WordPress website. This knowledge equips you with the tools to tackle critical errors with confidence, promoting the reliability and stability of your WordPress platform.
Resolving the Critical Error Using WordPress Debugging Email
To tackle a critical error in your WordPress site, your initial step is to inspect the inbox linked to your website’s WordPress administrative email address. If you’re unsure which email address functions as your administrative one, it’s the one you specified during the initial installation process. For those using services like Bluehost or a WordPress auto-installer, the administrative email address typically aligns with the one you used for your WordPress hosting account.
- Within your inbox, you’ll discover an email with the subject line, ‘Your Site is Experiencing a Technical Issue.’ Inside this email, you’ll unearth invaluable insights into the trigger behind the critical error on your WordPress website. This information serves as a crucial tool for pinpointing the root cause of the problem and provides guidance for taking subsequent actions to effectively resolve the critical error;
- Furthermore, the email includes a unique link that grants you access to your WordPress website in recovery mode, allowing you to investigate and rectify the issue comprehensively. This approach empowers you to regain control of your website’s functionality swiftly and efficiently;
- Towards the bottom of the email, you’ll find a treasure trove of detailed insights into the error, providing specifics about the exact file and code responsible for its occurrence;
- The next step is as simple as clicking on the link that leads to WordPress recovery mode. This link will seamlessly transport you to your WordPress admin area, where you’ll be prompted to log in to continue. Once logged in, you’ll receive a notification that delves deeper into the cause of the critical error, and it will include a link directing you to the specific location where you can address it. WordPress notifies us of a critical error attributed to a plugin and offers a direct link to the Plugins page;
- Clicking this link will reveal the troublesome plugin and pinpoint the exact line of code responsible for the error. You can temporarily deactivate the plugin by selecting ‘Deactivate’ and then explore alternative plugins or seek assistance from the plugin developers.
Likewise, if the issue pertains to your theme, you’ll find a link leading to the Themes page, with the problematic theme clearly identified at the bottom of the page. You have the option to switch to a different WordPress theme or uninstall the troublesome one, reinstalling a fresh copy from the official source to see if it resolves the issue.
Once you’ve effectively addressed the problem, simply click the ‘Exit Recovery Mode’ button located at the top. In most cases, your WordPress website should now return to its normal functionality. However, if the critical error persists, you can explore the troubleshooting steps outlined in the subsequent section, equipping yourself with the knowledge and strategies to resolve even the most persistent WordPress challenges.
Resolving the Critical Error in WordPress Manually
In case you haven’t received the crucial WordPress notification email concerning the critical issue, this method will guide you through troubleshooting and resolving the critical error in WordPress.
If the error can be traced back to a recent action you performed, the solution may be as simple as undoing that action to rectify the issue. For instance, if you encountered the critical error after installing and activating a new plugin, you can resolve it by deactivating the plugin (the first step to achieve this is explained below).
However, if the cause of the error remains uncertain, you can proceed with the following steps to tackle the issue effectively.
1. Disable All WordPress Plugins
The most straightforward method for addressing issues stemming from a problematic WordPress plugin is deactivation. However, the presence of a critical error may obstruct access to the admin area, making it impossible to identify the specific plugin requiring deactivation.
To address this predicament, we will proceed by deactivating all WordPress plugins. It’s important to note that you can reactivate them later once access to your WordPress admin area is restored.
Here’s how to perform this procedure:
| Step | Action | Description |
|---|---|---|
| 1 | Connect to Your WordPress Site | Initiate a connection to your WordPress website using an FTP client or the File Manager application in your web hosting control panel. |
| 2 | Locate the “wp-content” Folder | After successfully connecting, navigate to and access the “wp-content” folder in your WordPress installation directory. |
| 3 | Rename the “plugins” Folder | Inside the “wp-content” directory, locate the folder named ‘plugins.’ Right-click on this folder and choose the ‘Rename’ option from the context menu. |
| 4 | Choose a New Name | Modify the name of the ‘plugins’ folder to a name of your preference. For example, you can rename it to ‘plugins.deactivated’ or any other name you prefer. |
WordPress relies on the presence of the ‘plugins’ folder to load and activate plugins on your website. When you rename this folder, WordPress is unable to locate it, leading to the automatic deactivation of all plugins.
Check Your Website: Now, proceed to visit your website and verify if the critical error message has disappeared.
Important Note: Once the critical error issue has been successfully resolved, it is crucial to revert the ‘plugins’ folder to its original name. This action prompts WordPress to recognize the folder again, enabling you to gradually reactivate your plugins one by one through the WordPress dashboard. This step is vital in identifying the specific plugin responsible for triggering the critical error.
2. Switch to a Default Theme
The subsequent crucial step in addressing the critical error involves changing your WordPress theme to a default one. This strategic maneuver often proves to be an effective remedy for the critical error, especially if problematic code within your current WordPress theme is the primary cause of the issue.
Transitioning to a default theme involves selecting a theme that comes pre-packaged with WordPress, such as Twenty Twenty-Two or Twenty Twenty-Three. These themes are renowned for their stability and compatibility, making them dependable choices for temporarily replacing your current theme during the troubleshooting process.
By implementing this switch, you create a clear separation between your website and the potentially troublesome code within your existing theme. This segregation enables you to determine whether the critical error persists while using the default theme. If the error vanishes with the default theme in place, it strongly suggests that the problem was indeed connected to your previous theme.
However, if the critical error persists even with the default theme, it signifies that the issue likely resides elsewhere, necessitating further investigation and troubleshooting steps to pinpoint and ultimately resolve the underlying problem.
Here’s how to proceed:
- Navigate to the WordPress.org theme directory and procure a fresh copy of a default theme such as Twenty Twenty-Two or Twenty Twenty-Three;
- Extract the theme file on your computer, generating a folder bearing the theme’s name;
- Establish a connection with your WordPress site via an FTP client or utilize the File Manager application found within your hosting control panel;
- Upon a successful connection, navigate to the ‘/wp-content/themes’ directory, which contains a list of all currently installed themes on your website;
- As a precautionary measure, download all these theme folders to your computer to create backups;
- Next, proceed to delete all the theme folders from your website, temporarily leaving your WordPress site without a theme;
- To rectify this, upload the default theme folder you downloaded earlier to your website;
- Once the upload process reaches completion, attempt to visit your website.
If the critical error was triggered by your WordPress theme, you should no longer encounter the error message, and your website should be accessible.

3. Reinstall WordPress
One possible factor contributing to a critical error in WordPress could be the presence of a corrupted WordPress core file or the infiltration of malware. To effectively address this issue, the recommended course of action is to perform a reinstallation of WordPress. Here are the steps to follow:
| Step | Action |
|---|---|
| 1. Download WordPress | Visit WordPress.org and acquire a fresh WordPress installation package, saving it to your computer. |
| 2. Extract Files | After downloading the file, extract its contents on your computer, creating a ‘wordpress’ folder. |
| 3. Connect to Your Website | Establish a connection with your WordPress site using an FTP client or hosting control panel’s File Manager. |
| 4. Navigate to Root Folder | Access the root folder of your website, typically containing ‘wp-admin,’ ‘wp-content,’ ‘wp-includes,’ and ‘wp-admin’ folders. |
| 5. Upload Fresh Files | Select the files within the ‘wordpress’ folder on your computer and upload them to your website. Choose ‘Overwrite’ if prompted. |
| 6. Initiate Upload | Click the ‘OK’ button to initiate the upload process, replacing core WordPress files on your site with fresh copies. |
| 7. Check Your Website | After completion, access your website to confirm if this action successfully resolves the error. |
If the critical error stemmed from a corrupt WordPress core file or malware, you should no longer encounter the error message, signifying a successful resolution of the issue.
4. Turn On Debugging in WordPress
WordPress incorporates an integrated debugging system that empowers you to pinpoint errors, log them, and proficiently resolve issues.
To enable this functionality, you’ll need to make modifications to the wp-config.php file. Start by locating the following line:
| 1 | define( ‘WP_DEBUG’, false ); |
Now, proceed to replace this line with the following code:
| 1234 | define( ‘WP_DEBUG’, true );define( ‘WP_DEBUG_DISPLAY’, true );define( ‘WP_DEBUG_LOG’, true );define( ‘SCRIPT_DEBUG’, true ); |
Upon visiting your WordPress website now, it will not only present the critical error message but also display debugging information.
Debug mode serves a broader purpose, as it doesn’t just expose errors; it also brings to light warnings and notices. This comprehensive insight into the issue’s origins greatly aids in effective troubleshooting and problem resolution.
5. Boost PHP Memory Allocation
Just like any other computer, your web hosting server depends on memory to efficiently handle multiple concurrent applications.
If your server doesn’t have enough resources to run PHP, it can experience crashes or unresponsiveness, which may ultimately trigger a critical error in WordPress.
To address this problem, you can increase the PHP memory limit by directing your hosting server to allocate additional memory for PHP.
You can achieve this by adding the following line to your wp-config.php file.
| 1 | define( ‘WP_MEMORY_LIMIT’, ‘512M’ ); |
Ensure to save your modifications and upload them to the server.
For further information, you can refer to our tutorial on expanding the PHP memory limit in WordPress.
Afterward, attempt to access your website to determine if this action has successfully addressed the critical error.
6. Update Your PHP Version
Maintaining an up-to-date PHP version is crucial for the optimal performance and stability of your WordPress website. WordPress now requires a PHP version of 7.4 or higher to operate smoothly. Operating on an older PHP version can lead to suboptimal website performance and potentially trigger critical errors.
To check your site’s current PHP version and address any compatibility issues, follow these steps:
| Step | Action |
|---|---|
| Access Site Health Information | If you have access to WordPress recovery mode, navigate to ‘Tools » Site Health’ in your dashboard. |
| Check Server Information | Scroll down to the ‘Server’ section on the ‘Info’ tab to locate the current PHP version. |
| Upgrade PHP Version | If the PHP version is below 7.4, upgrade it via your hosting account control panel. |
Conclusion
Addressing the critical error in WordPress can be a manageable task when approached systematically. This step-by-step guide has provided valuable insights into various methods for identifying and resolving the issue. Whether it’s through deactivating plugins, switching themes, reinstalling WordPress, or enhancing PHP settings, these strategies empower users to regain control of their websites and overcome the obstacles posed by critical errors. By following these carefully outlined steps, WordPress users can efficiently troubleshoot and restore their websites to optimal functionality, ensuring a smoother and error-free online experience.